Custom Domain
Use your own domain for Makeform forms instead of the default makeform.ai URL.
Custom domains are a Makeform Pro feature.
What custom domains change
Custom domains let respondents open your forms on a branded domain such as forms.company.com.
With a verified custom domain, you can:
- Share branded form URLs.
- Serve forms over HTTPS with automatic SSL.
- Assign a verified domain to individual forms.
- Use custom paths such as
/contact,/feedback, or/apply.
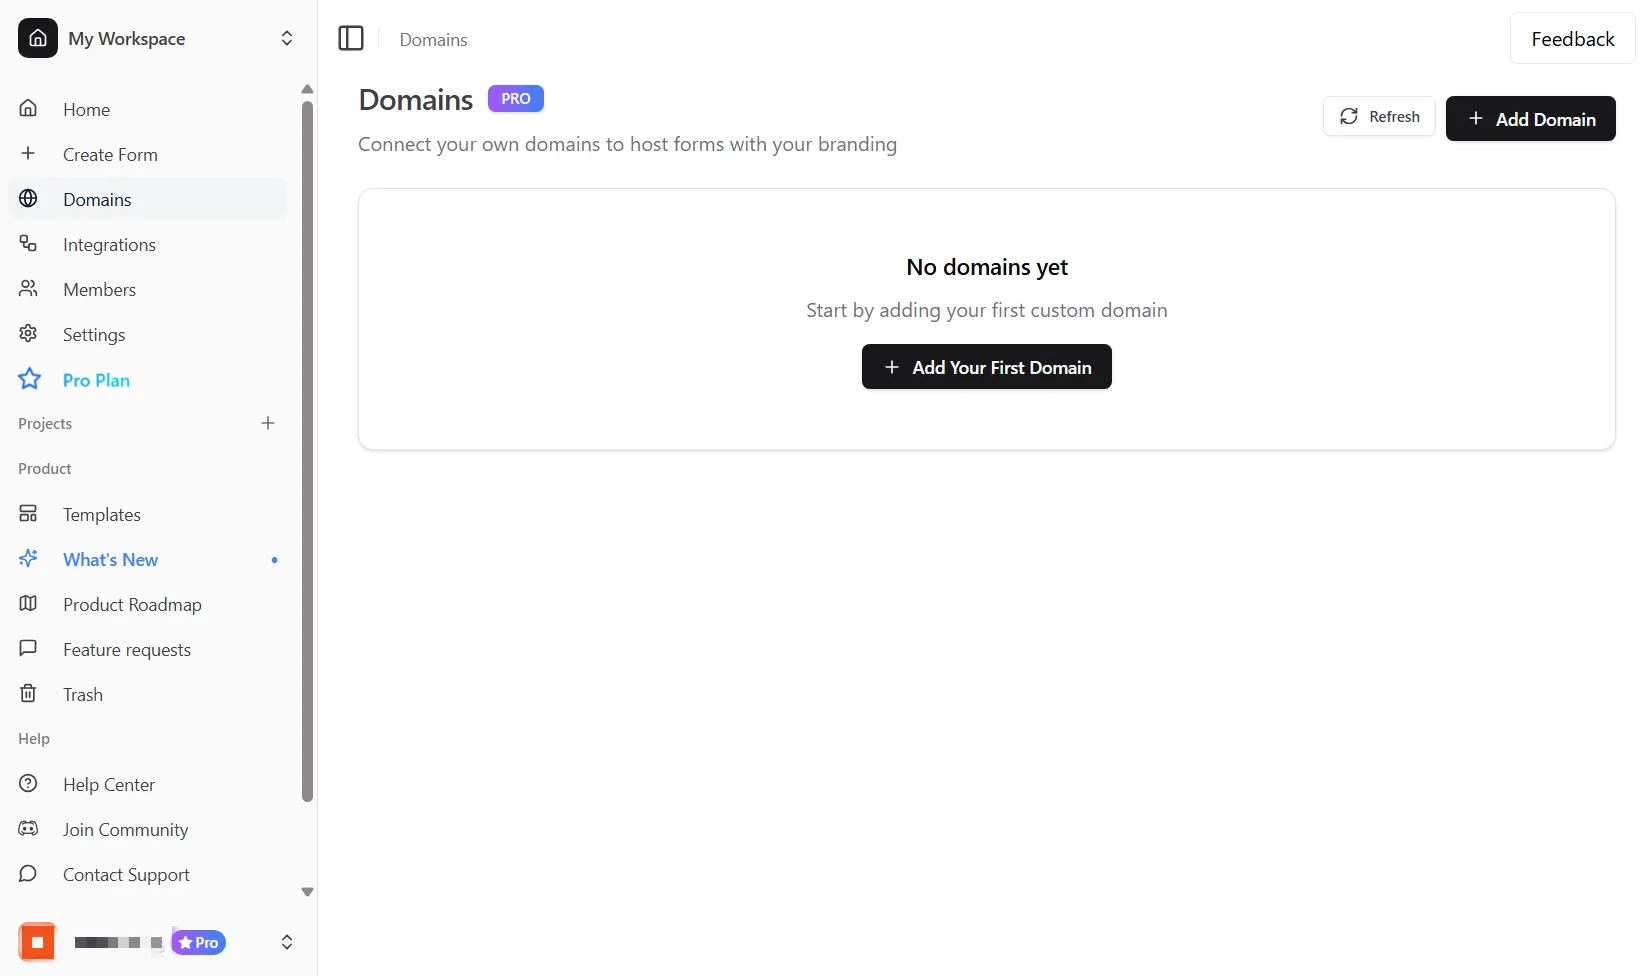
Add a domain
Open the Domains page from your dashboard, then click Add Domain.
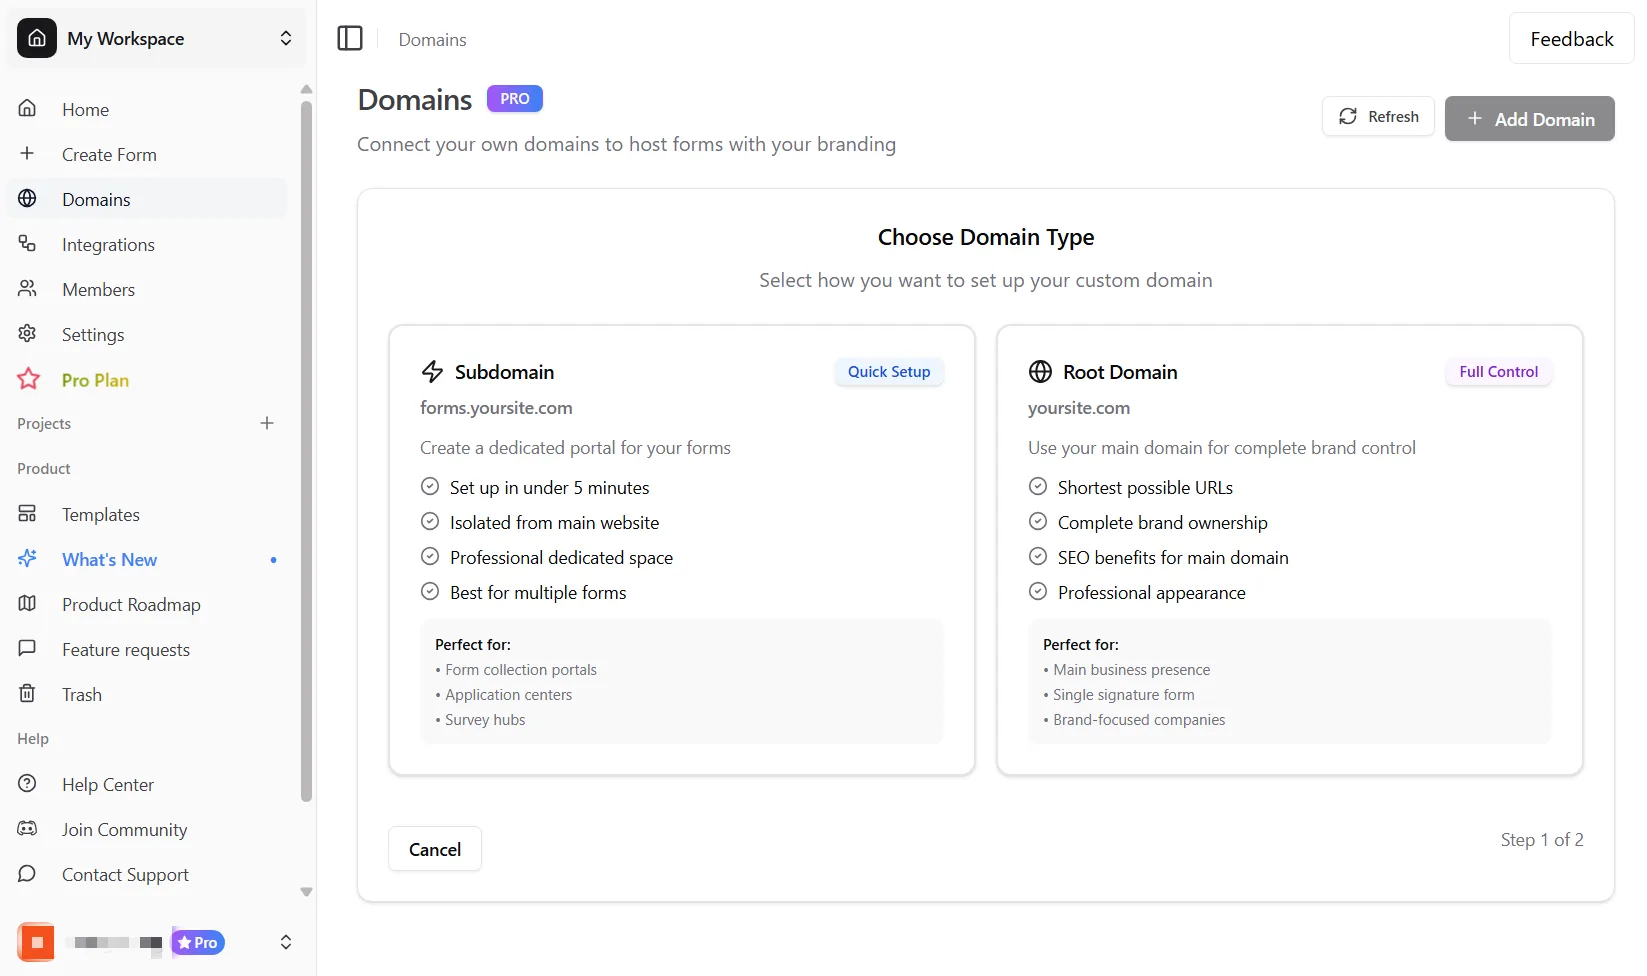
Choose the domain type you want to connect:
| Domain type | Example | Recommendation |
|---|---|---|
| Subdomain | forms.company.com | Best default. It avoids conflicts with your main website. |
| Root domain | companyforms.com | Use when the entire domain is dedicated to forms. |
Do not point your main website domain at Makeform unless you intend Makeform to serve that domain.
Configure DNS
After you add a domain, Makeform shows the DNS records required for that domain.
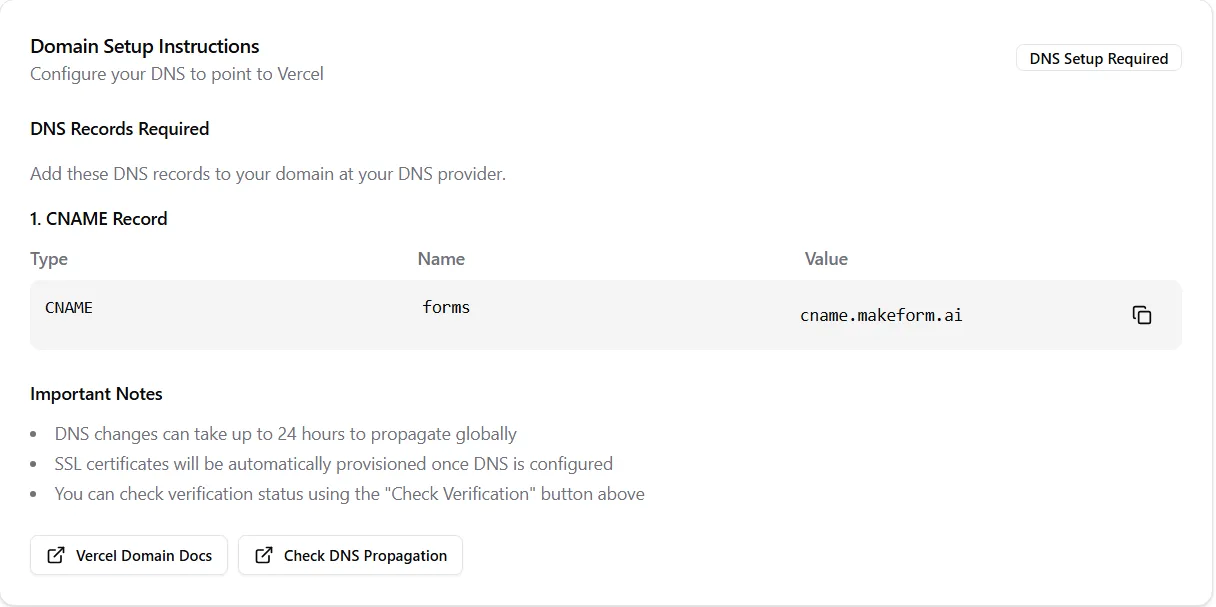
Add the shown records in your DNS provider. The exact record depends on the domain:
- Subdomains usually use a
CNAMErecord pointing tocname.makeform.ai. - Root domains may use an
Arecord. - Some domains may also require a
TXTverification record.
Use the record values shown in Makeform instead of guessing. DNS changes can take minutes to hours to propagate.
Verify the domain
After adding the DNS records, return to Makeform and check verification.
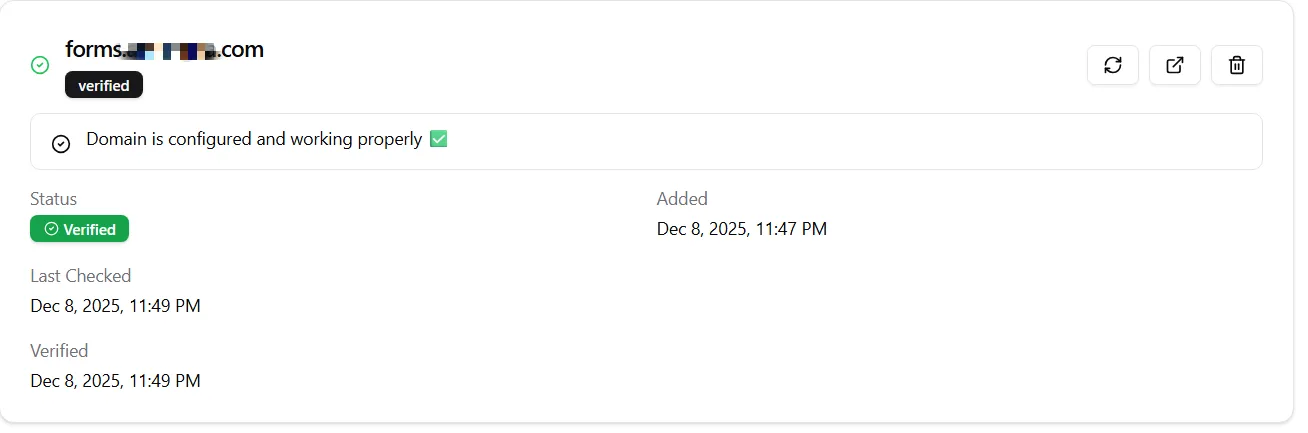
When verification succeeds, Makeform can serve forms on that domain with HTTPS.
If verification fails right after adding DNS records, wait a few minutes and check again. DNS propagation is not instant.
Assign a domain to a form
Once the domain is verified, open the form’s Share page and choose the domain from the custom domain selector.
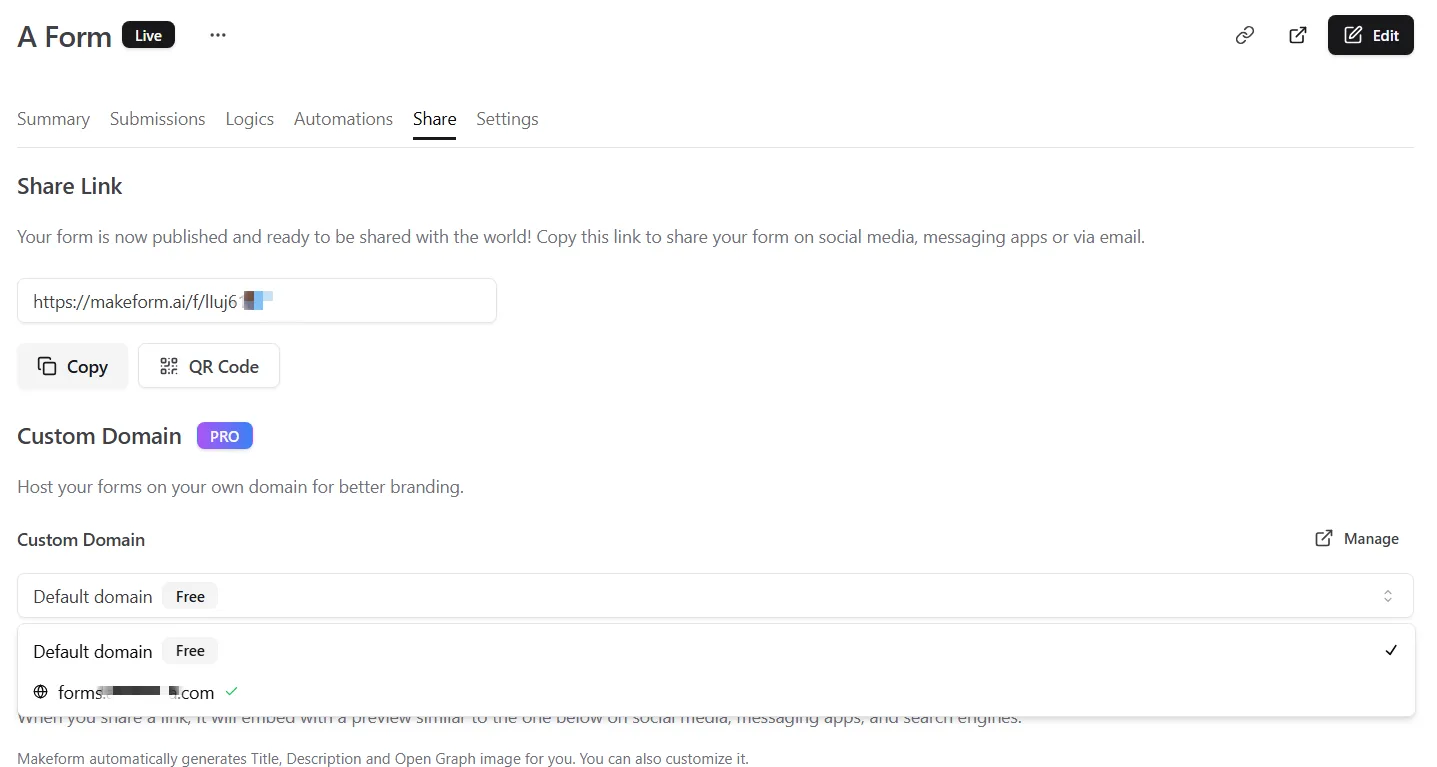
Only verified domains appear in the selector. If no verified domains are available, add or verify a domain from the Domains page first.
After assigning the domain, the form can be opened at a domain URL such as:
https://forms.company.com/f/abc123Use custom paths
Custom paths replace the default /f/{form-id} path with a clean URL.
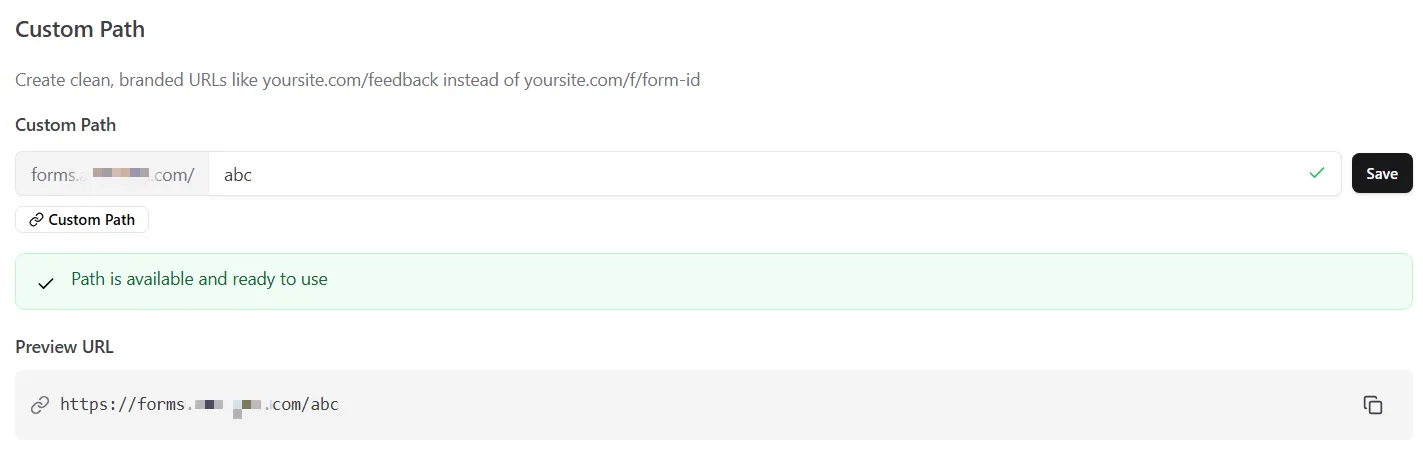
Examples:
https://forms.company.com/contact
https://forms.company.com/feedback
https://forms.company.com/apply
Custom path rules:
- Paths can include letters, numbers, hyphens, underscores, and slashes.
- Paths must be unique on the same domain.
- Reserved paths such as
api,admin,auth,f, andecannot be used. - Keep paths short and readable.
Testing checklist
- Open the custom domain in a private browser window.
- Confirm HTTPS loads without certificate warnings.
- Submit a test response from the custom domain URL.
- If you use a custom path, test both the default form URL and the custom path.
- Confirm your share links use the custom domain you intended.
Troubleshooting
The domain is still pending
Check that the DNS record type, name, and value match the values shown in Makeform. Then wait for propagation and check again.
The domain opens the wrong site
Confirm you added the DNS record on the correct domain and did not point an existing production website to Makeform by mistake.
The domain is verified but not available on a form
Only verified domains appear in the form Share page. Refresh the page, then confirm the domain is verified in the Domains page.
The custom path is rejected
Check for reserved paths, duplicate paths on the same domain, unsupported characters, or paths that start or end with a hyphen.